OcuTrap R1 Knowledge Base
OcuTrap Knowledge Base
  • OcuTrap Knowledge Base
  • Getting Started
    • Introduction
    • Set-up Tutorial
    • Hardware set-up
    • Video Assembly
    • Hardware Features
    • App
      • Adding a trap to your account
      • Billing
      • Open/ Closed Button
      • Arm/ Un-arm Button
      • Trap Settings
      • Trap Control
      • Sharing with Users
        • Manager User
        • Shared User
        • Link Sharing
      • Logs
      • Notification Settings
      • Resetting Password
      • LED modes
      • Other app information
    • Tips and Tricks
    • Maintenance
  • FAQs
    • Sharing Traps
      • User Levels
    • Common questions
    • Safe-mode
    • Battery
    • Updating firmware
    • Manually taking an image
    • Seeing Camera view
    • Taking higher quality images
    • GPS
    • Weather & Environmental Guidelines
    • Accessory Port
    • Camera
    • Power Modes
    • Unarmed Hibernation
  • Deleting a Trap
  • Troubleshooting
    • Trap Not Sending Commands
    • Motor-to-Pin Connection Too Tight
    • Connection Issues
  • Support
    • Contact Us
    • Bug reporting
    • Safety Information
    • Purchases
    • Cloud Debug Guide for OcuTrap
  • Legal & Compliance
    • Warranty Information
    • Legal disclaimers and compliance information
  • Account and Billing
    • Billing
    • Resetting Password
    • Account Deletion
  • Appendix and Resources
    • Media Kit
    • Testimonials
    • Case Study
    • Updates
    • OcuTrap in News
Powered by GitBook
On this page
  • Issue
  • Cause
  • Solution
  • Tip

Was this helpful?

  1. Troubleshooting

Motor-to-Pin Connection Too Tight

Sometimes when connecting the motor to the pin and clevis during trap assembly, it can be difficult to fit the parts together.

PreviousTrap Not Sending CommandsNextConnection Issues

Last updated 10 days ago

Was this helpful?

Issue

When attaching the motor to the bracket:

  • The pin and clevis may not fit easily into the motor connector.

  • This can cause frustration during setup and may appear as though the parts are misaligned or stuck.

Example scenario:

Cause

This issue is usually due to the motor being fully retracted at the time of assembly. In its fully retracted state, the motor's position prevents easy insertion of the clevis and pin.

Solution

To solve this:

  1. Power on the OcuTrap.

  2. Using the app or the buttons inside the POD, press the "Close" button to extend the motor slightly.

    • This will expand the motor outward, creating enough clearance for the pin and clevis to fit properly.

  3. Prop up the motor to allow it room to extend fully (see images below).

Step-by-Step

Step
Action

1

Ensure the OcuTrap is powered on and motor is plugged in.

2

Use the app or POD controls to press the Close button, extending the motor outward.

3

Hold or prop up the motor (lift it slightly) to give it clearance to move.

4

Once extended, let the door down all the way and slide it forward to reposition.

5

Unplug the motor to prevent it from moving unexpectedly.

6

Insert the clevis and pin into the motor connector easily.

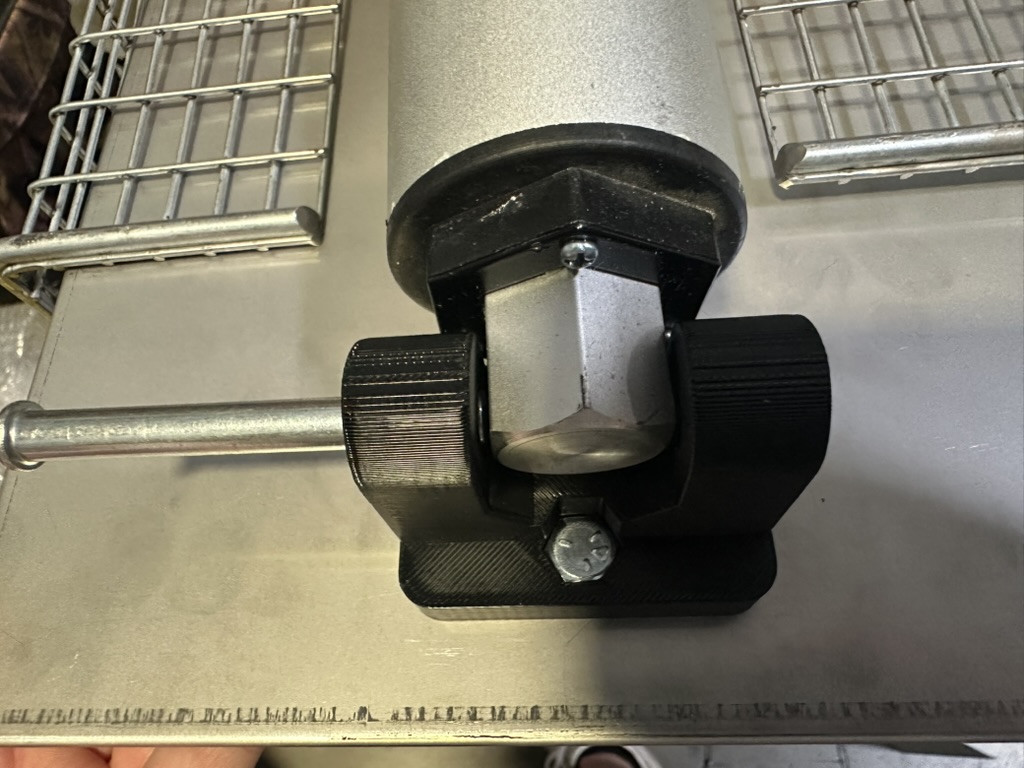
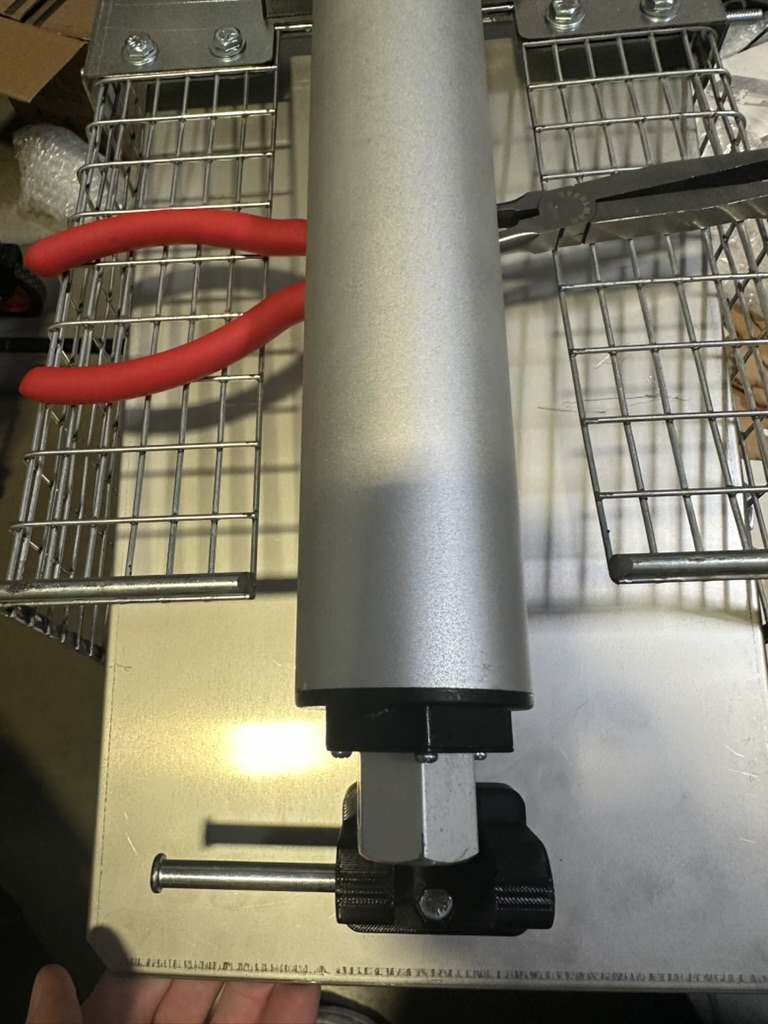
Photos for reference:
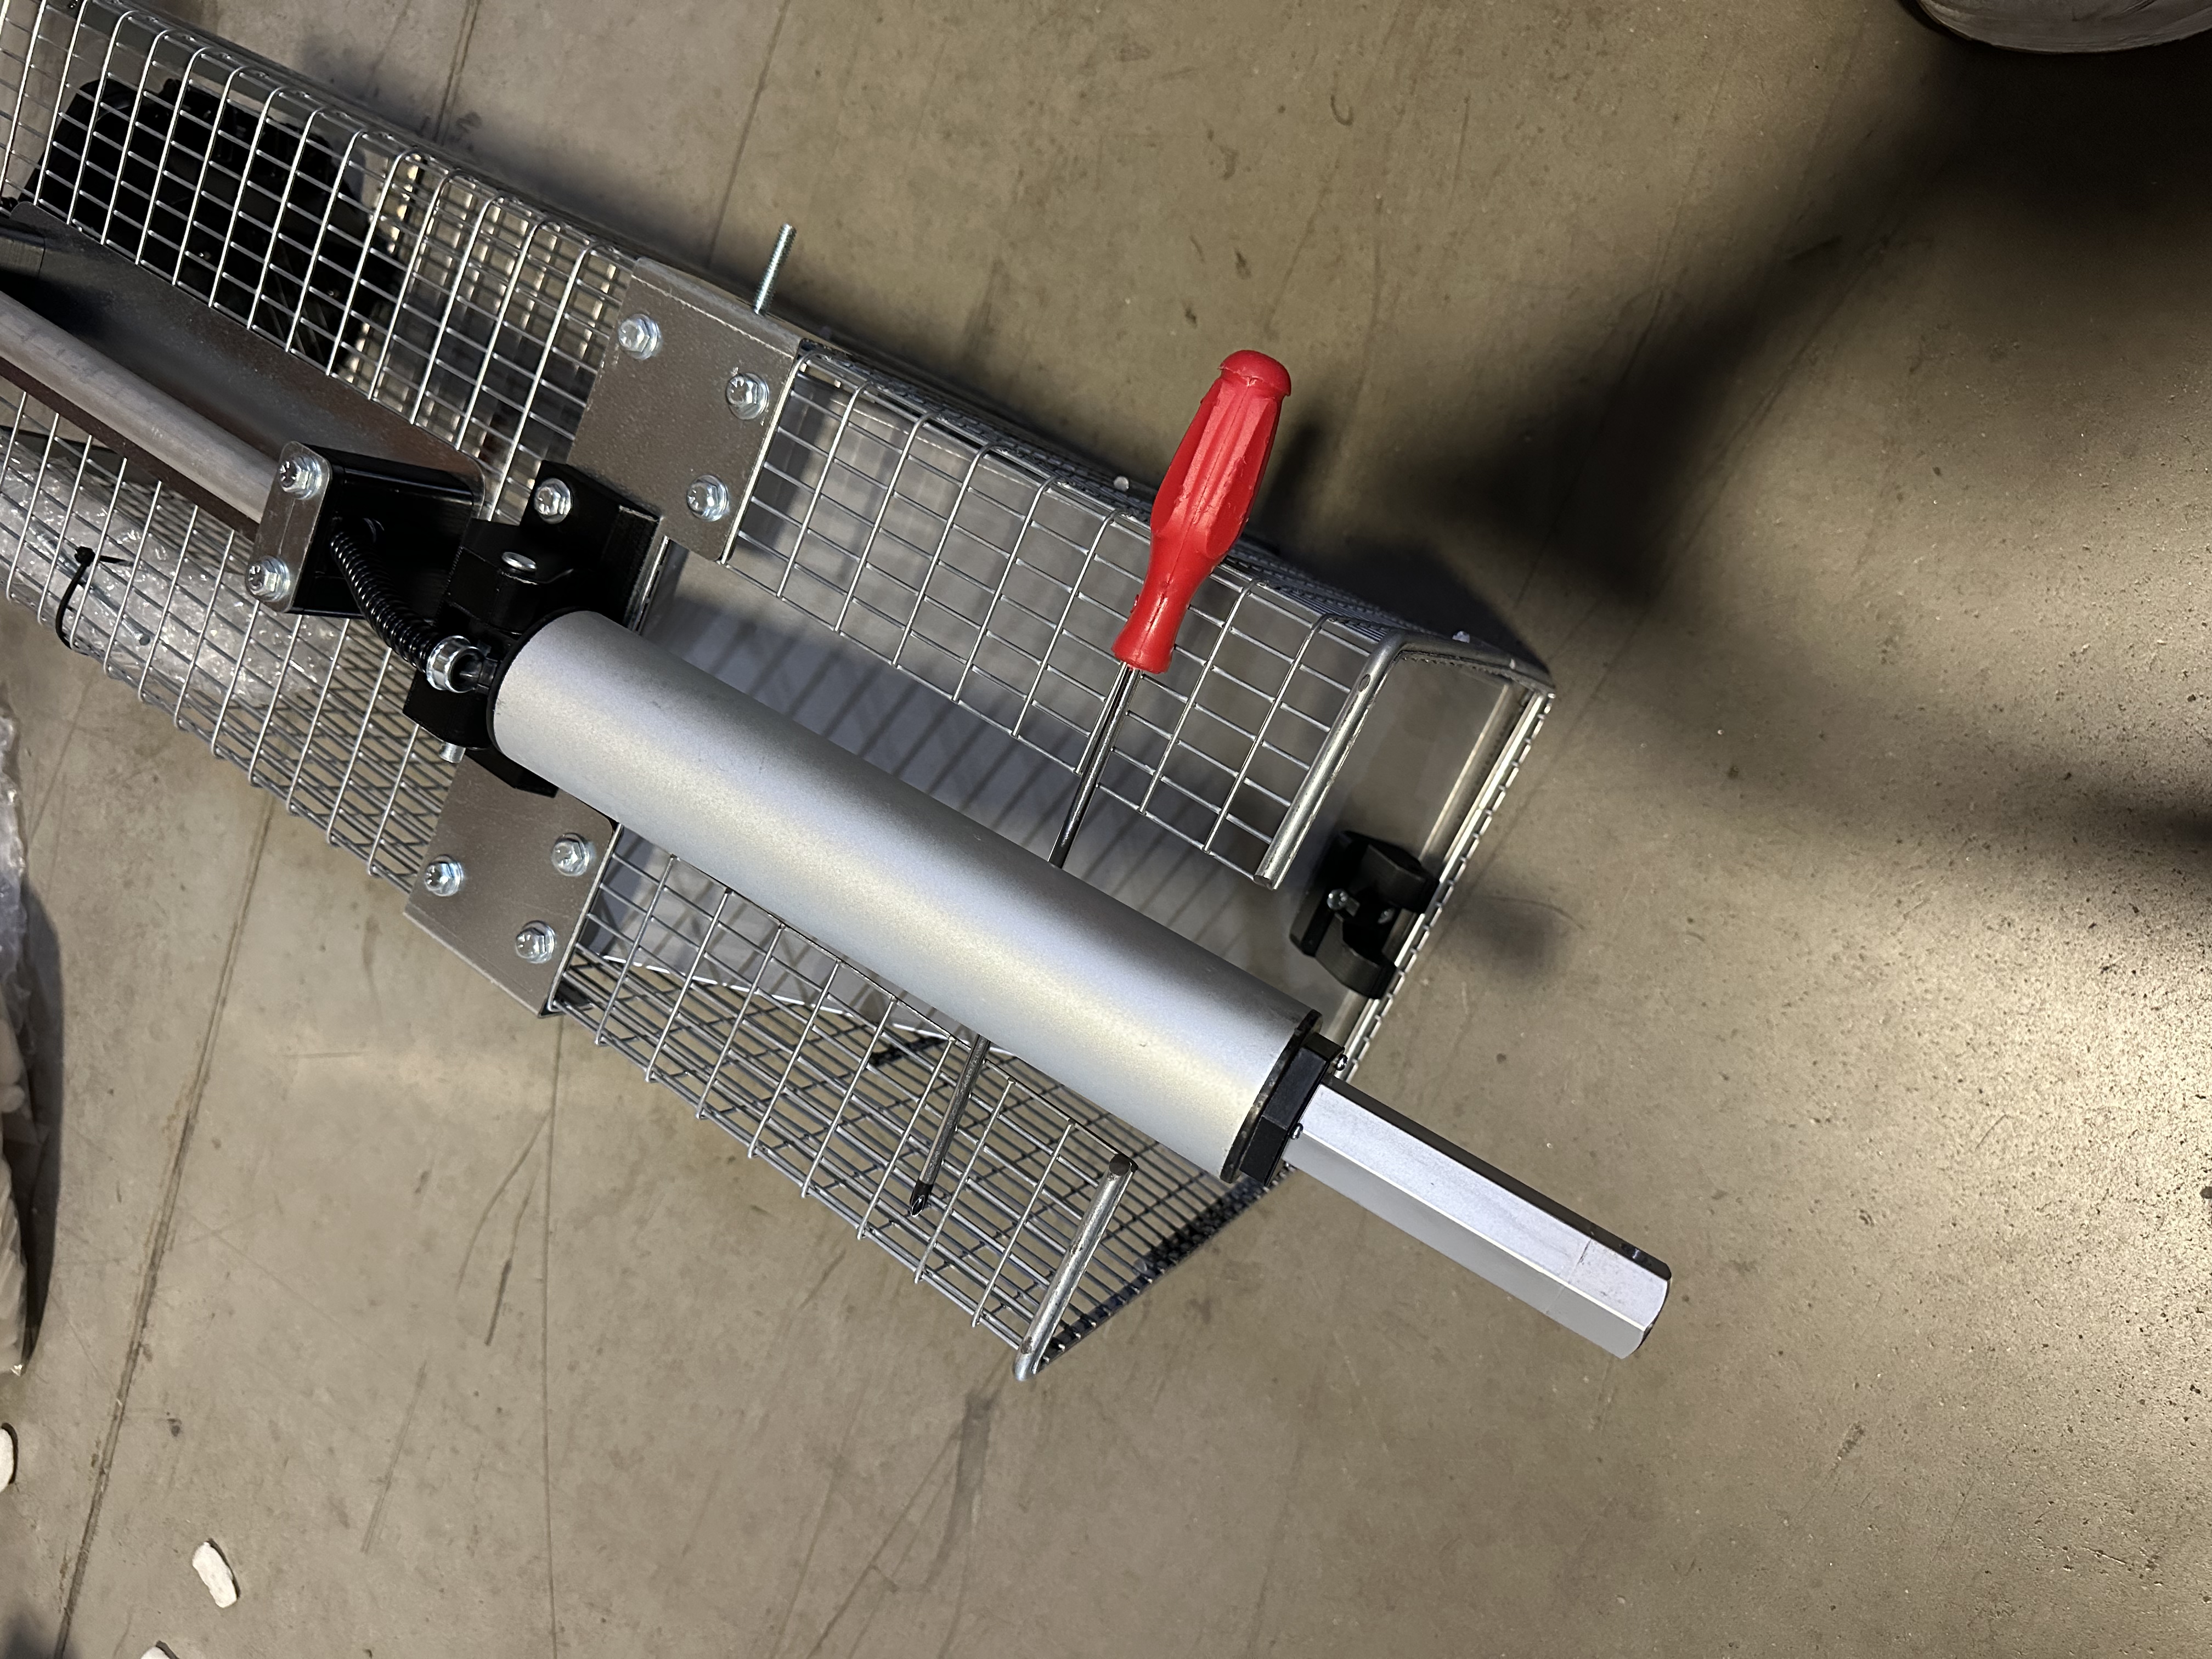
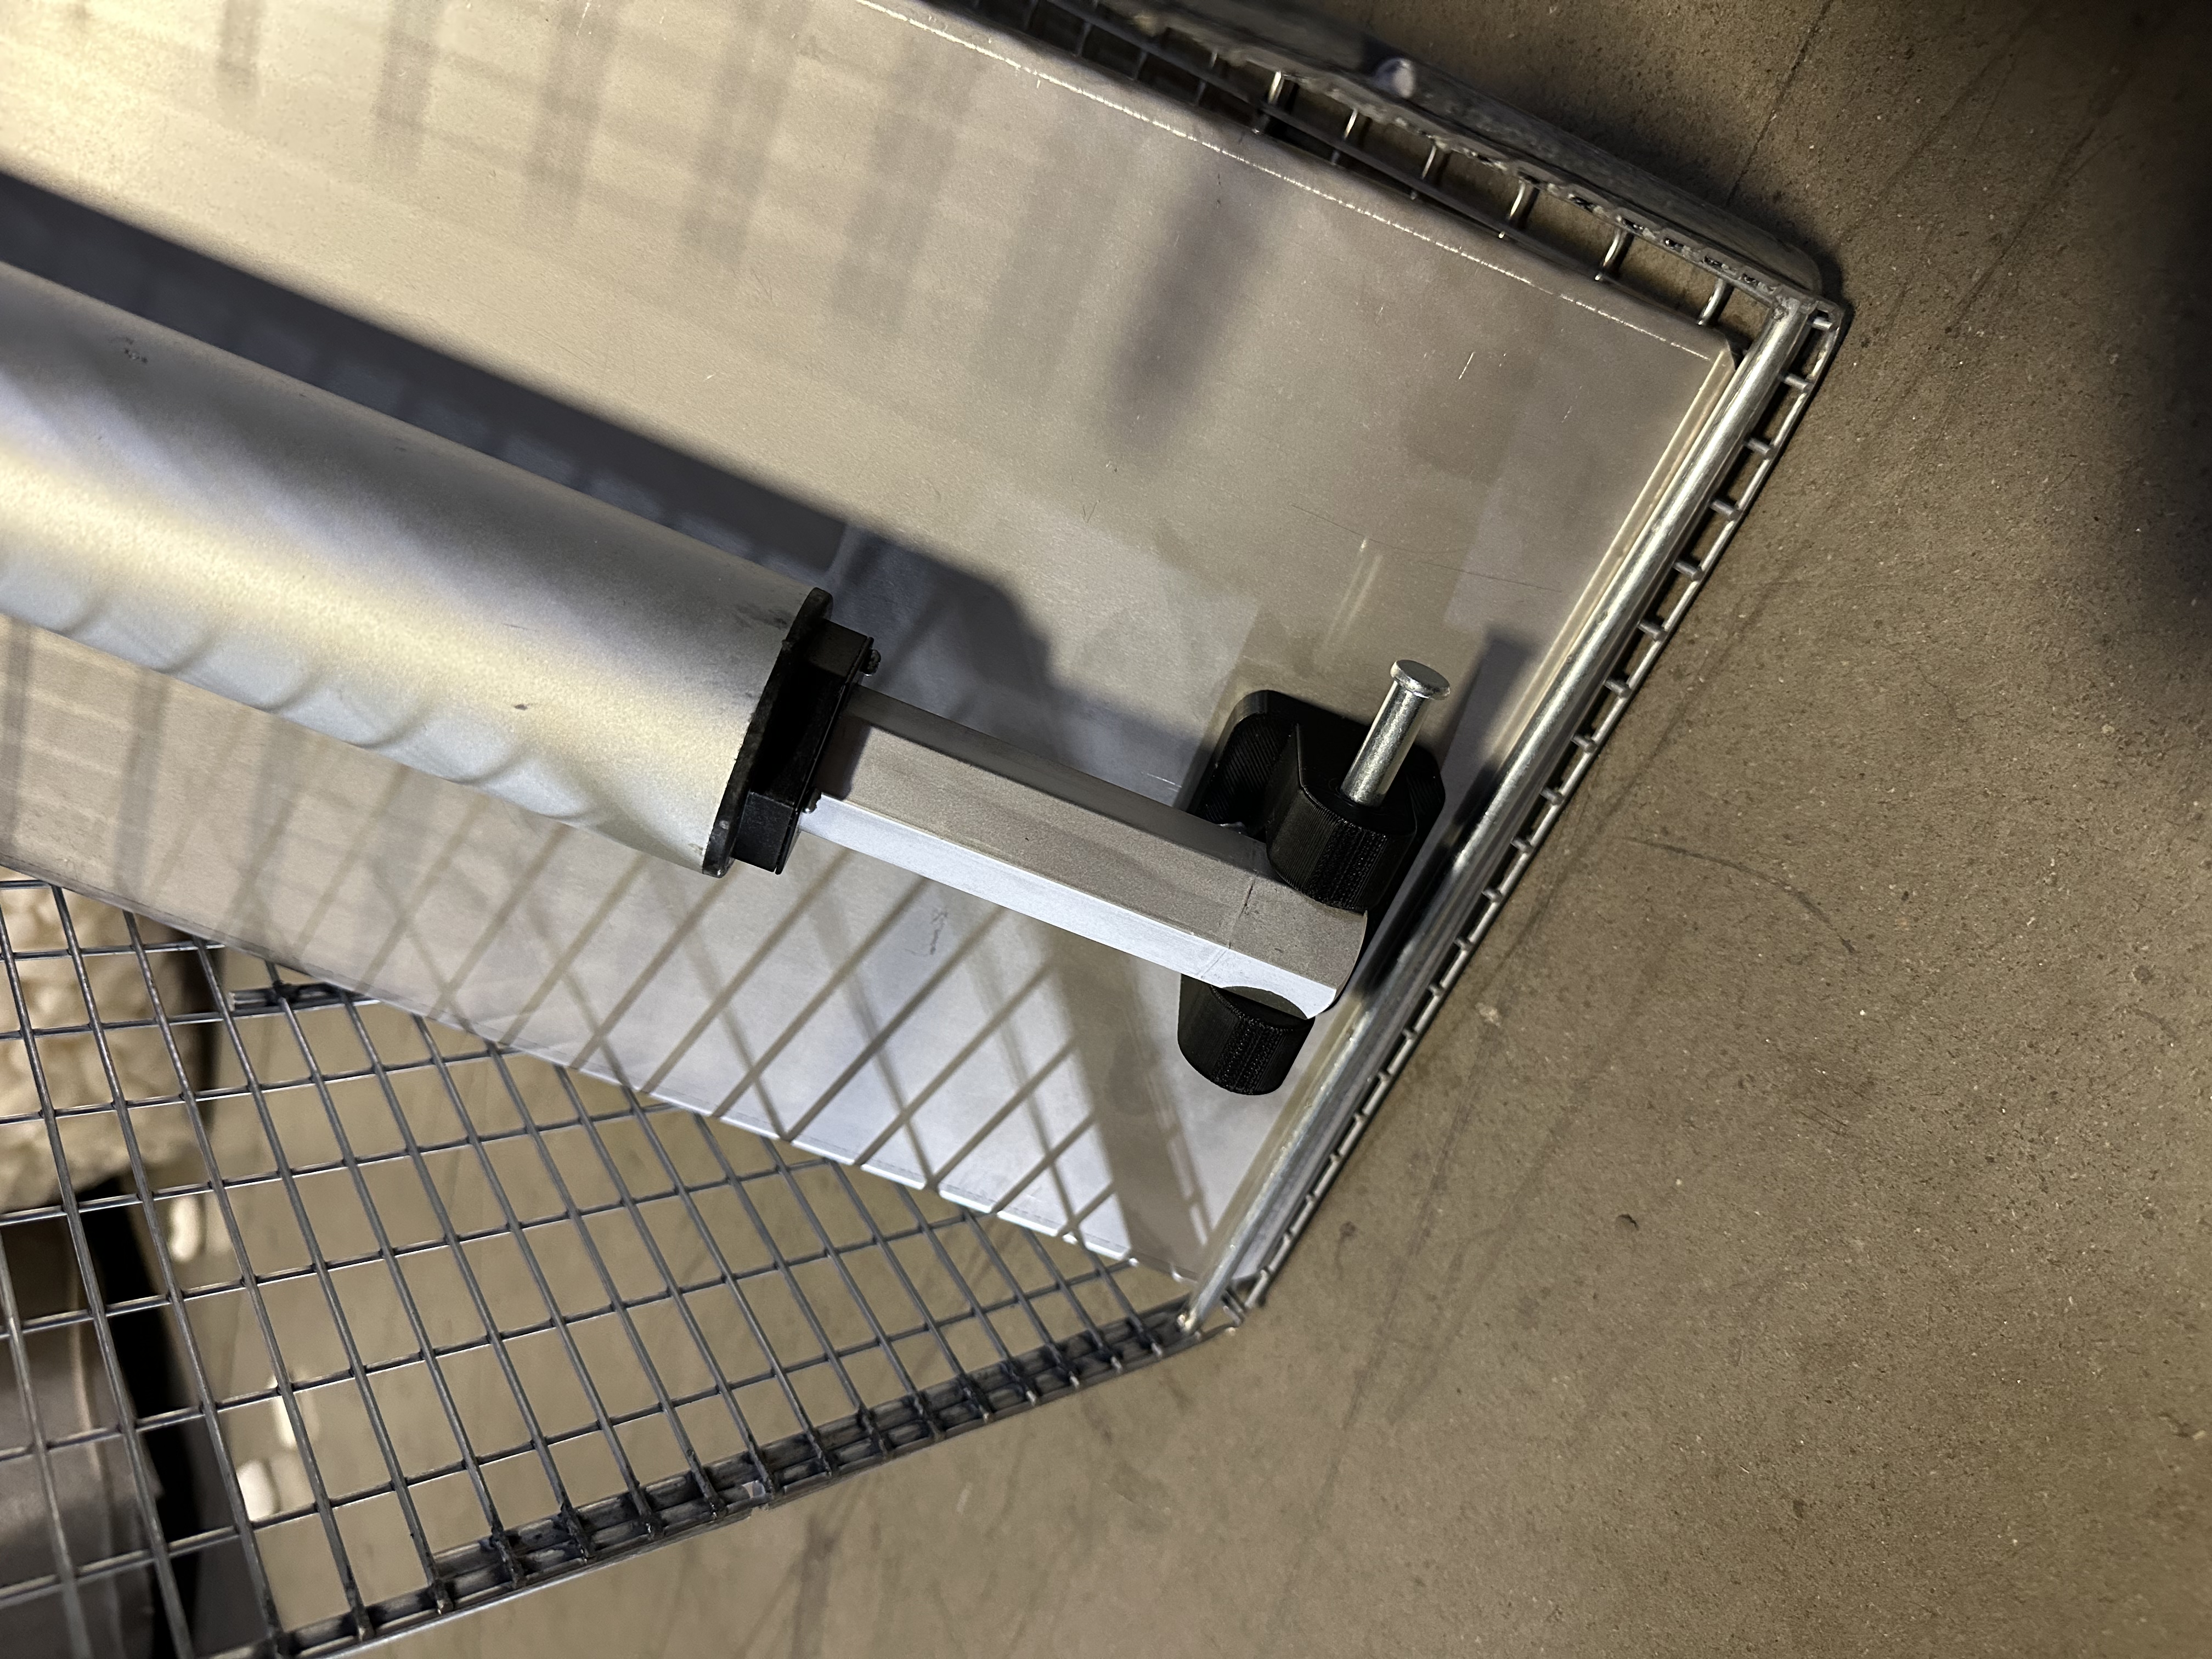
Tip

  • Always make sure the trap door is fully lowered before attempting final assembly of the motor to the bracket.

  • If the motor is already fully extended, no further action is needed.